Instructions on Virus Scanning using Norton / Symantec Antivirus Scans
1. Open up your Anti-Virus Client. (note: Your program might be named
"Symantec AntiVirus Client" or "Norton AntiVirus Corporate Edition.") Go to
START >>PROGRAMS>>SYMANTEC CLIENT SECURITY and click on SYMANTEC ANTIVIRUS
CLIENT (Some Versions may say Norton Antivirus Client

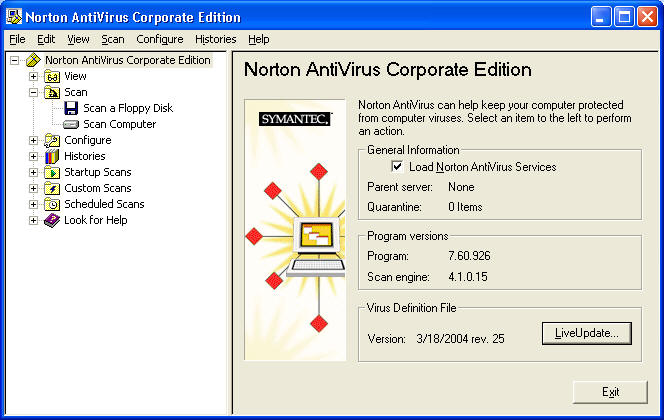
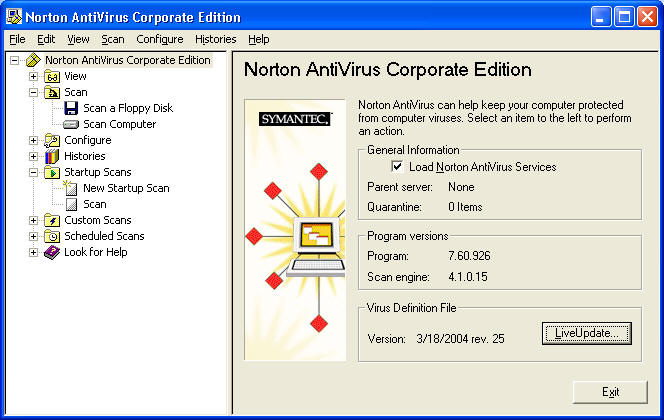
You should see something similar to below. One item you should check regularly in this screen in the virus definition file date. This date should never be older than one week old. Notify your building network administrator immediately if the date is older than that.
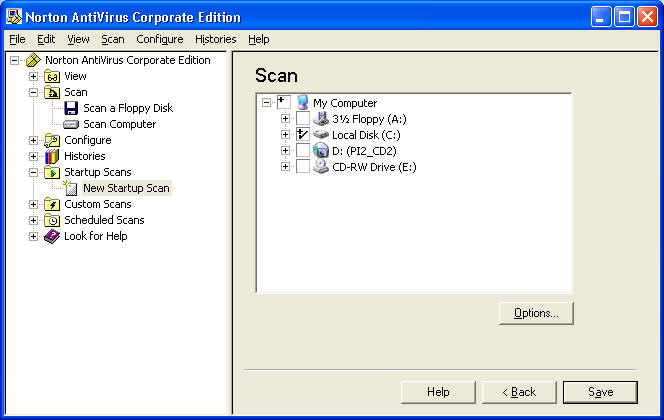
2. If you want an immediate scan click the hard drive icon or the words "Scan Computer" and the right window will change to something similar to the window below.
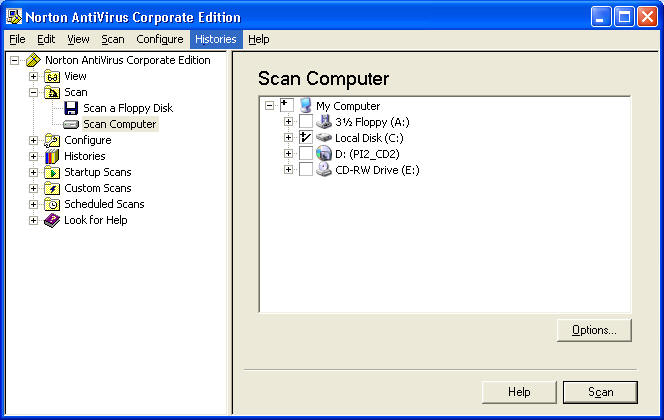
I have clicked the C: drive to select it for scanning. You may have multiple drives that you want scanned. In the picture above I could have selected the A: drive (floppy) or the two CD drives D: and E:
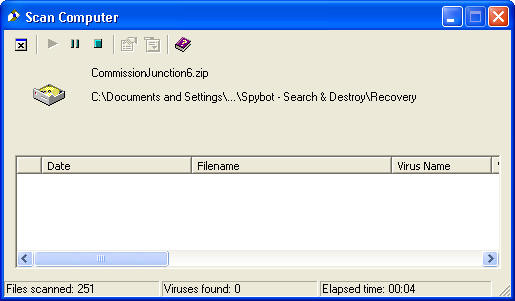
Clicking scan would open a window similar to the one below. You could watch the antivirus program move through your computer and the virus window would indicate any viruses found. These would usually be moved to the quarantine folder. You need to go to the quarantine folder and delete these files.
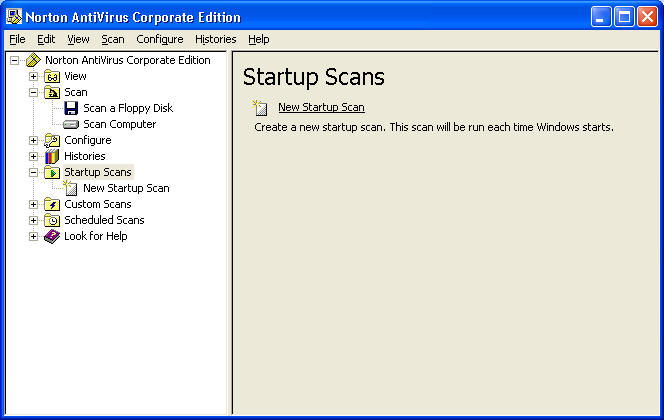
3. Setting startup or timed scans.
Startup Scans:
Click startup scan. See below for what you should see. Next click New startup scan.
Click next

Select the drive(s) you want scanned.
Click Save. You will now see a scan indicated in the startup scan tree. This scan will scan the selected drive(s) every time you start or reboot your computer.
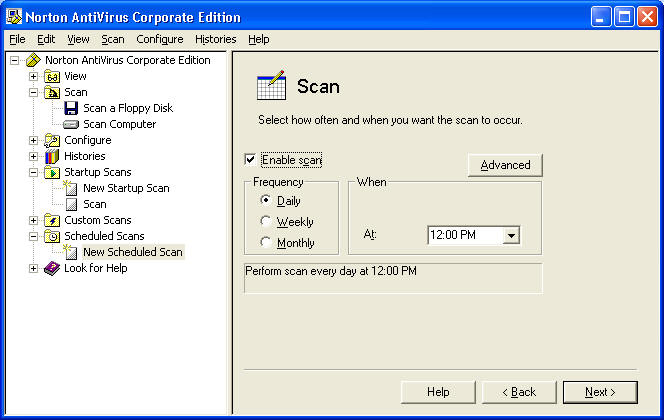
If you want a scheduled (set to a specific time) click scheduled scan instead of startup scan. The process for setting this up will be very similar to setting up a startup scan with the exception of the first screen (below) That will allow you to set a scan frequency (I recommend daily) and the time of the scan. (It will use your computer's clock) and will adjust up to 8 hours for missed scans.